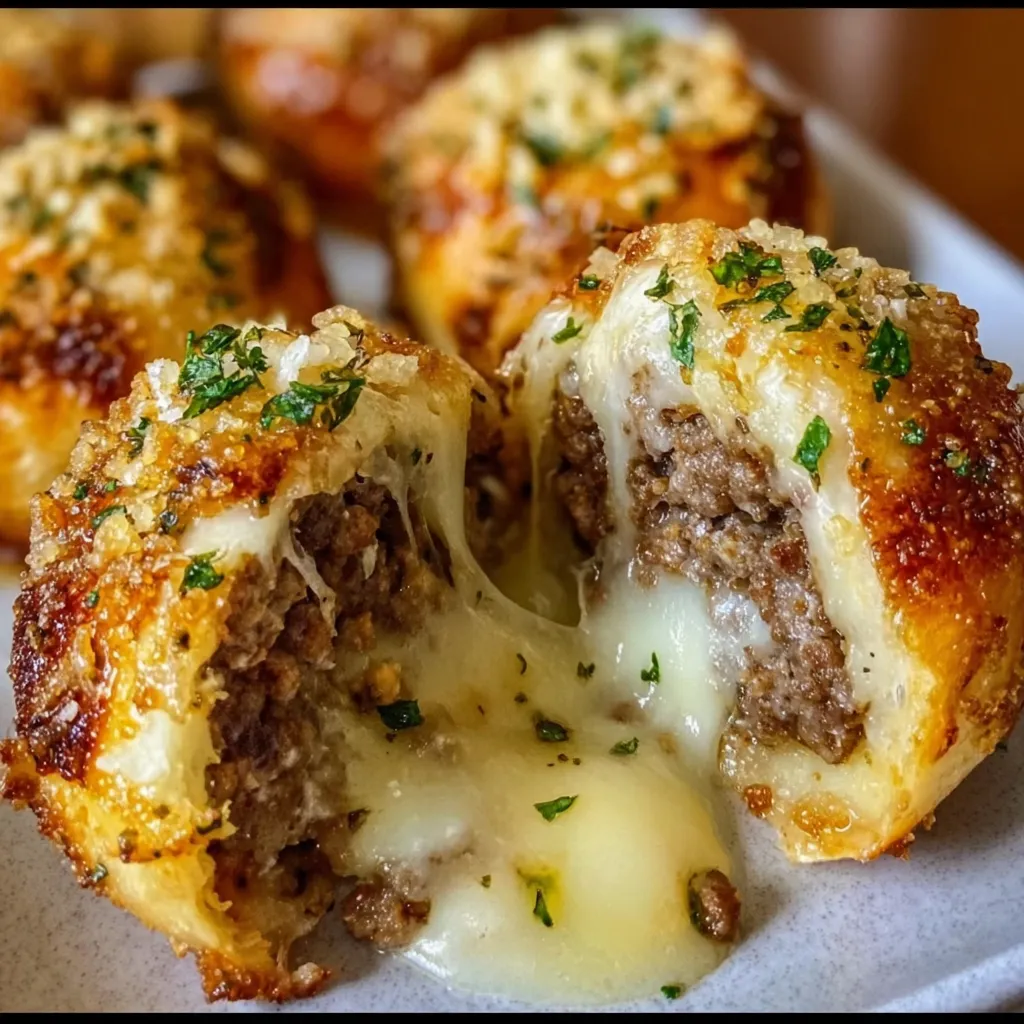
Garlic Parmesan Cheeseburger Bombs
If you’re looking for the ultimate crowd-pleasing appetizer, look no further than garlic parmesan cheeseburger bombs. These golden, bite-sized bread rolls are stuffed with savory ground beef, gooey melted cheese, and brushed with a rich garlic-parmesan butter that takes them over the top. Perfect for game days, parties, or even as a fun family dinner, these cheesy bread bombs combine all the flavors of a classic cheeseburger with the comfort of warm, garlicky bread. Once you serve them, don’t be surprised if they disappear in minutes!
Ingredients
To make these delicious garlic parmesan cheeseburger bombs, you’ll need:
- 1 lb ground beef
- 2 cups shredded mozzarella cheese
- 8 dinner rolls
- 4 cloves garlic, minced
- 1/2 cup grated parmesan cheese
- 4 tbsp butter, melted
- 1 tsp Italian seasoning
- Fresh parsley, for garnish
Step-by-Step Instructions
1. Cook the Ground Beef
Preheat your oven to 375°F (190°C). In a large skillet, cook the ground beef over medium-high heat, breaking it apart with a spoon until it’s browned and fully cooked. Season with salt, pepper, and Italian seasoning for added flavor. Drain any excess fat to avoid soggy rolls and set the beef aside to cool slightly.
2. Prepare the Rolls
Take each dinner roll and carefully cut off the top. Hollow out the inside, leaving about a ¼-inch border around the edges. Save the bread scraps for breadcrumbs or discard them. These hollowed rolls will act as the perfect vessel for the cheeseburger filling.
3. Stuff with Cheeseburger Filling
Spoon the cooked beef mixture into each hollowed roll. Top generously with shredded mozzarella cheese, pressing down gently so the cheese melts evenly when baked.
4. Make the Garlic Parmesan Butter
In a small bowl, combine the melted butter, minced garlic, and half of the grated parmesan cheese. Brush this mixture generously over the tops of the filled rolls for that irresistible garlic-parmesan crust.
5. Bake to Perfection
Arrange the stuffed rolls on a baking sheet lined with parchment paper. Sprinkle the remaining parmesan cheese on top and bake for 15–20 minutes, or until the tops are golden brown and the cheese is bubbly.
6. Garnish and Serve
Once baked, let the cheeseburger bombs cool for 2–3 minutes. Garnish with fresh parsley for a pop of color and serve immediately while the cheese is still hot and stretchy.
About the Recipe
A Fun Twist on Classic Comfort Food
These garlic parmesan cheeseburger bombs are a modern spin on two comfort food favorites: cheeseburgers and garlic bread. Instead of serving them separately, this recipe fuses both into an irresistible, hand-held bite that’s perfect for sharing.
Variations to Try
- Spicy Kick: Add diced jalapeños or a dash of hot sauce to the beef mixture.
- Loaded Veggies: Mix in sautéed onions, mushrooms, or bell peppers for extra flavor.
- Different Cheeses: Try cheddar, provolone, or pepper jack cheese in place of mozzarella.
- Mini Bombs: Use smaller dinner rolls to make bite-sized versions for parties.
Helpful Tips
- Always drain the beef well to prevent excess grease.
- Don’t overfill the rolls, or the cheese may spill out during baking.
- These can be prepped ahead of time and stored in the fridge for up to 4 hours before baking.
Serving Suggestions
Pair these cheesy bombs with:
- A side of marinara sauce or ranch for dipping.
- A crisp green salad to balance out the richness.
- Fries, chips, or onion rings for a full game-day spread.
Nutrition Insights
Each serving of garlic parmesan cheeseburger bombs provides around 320–400 calories, depending on portion size and cheese used. They’re indulgent, so enjoy them as a treat or share at gatherings.
Conclusion
Whether you’re hosting a party, preparing snacks for movie night, or just craving something cheesy and comforting, garlic parmesan cheeseburger bombs are guaranteed to impress. Crispy on the outside, gooey on the inside, and bursting with flavor, they’re everything you love about cheeseburgers—wrapped up in a delicious bread roll. Try them once, and they’ll quickly become a favorite recipe in your kitchen. Don’t forget to share these little bites of happiness with friends and family—they won’t last long on the table!